Skip to content
Menu
Home
About
Project Gallery
Blog
Contact
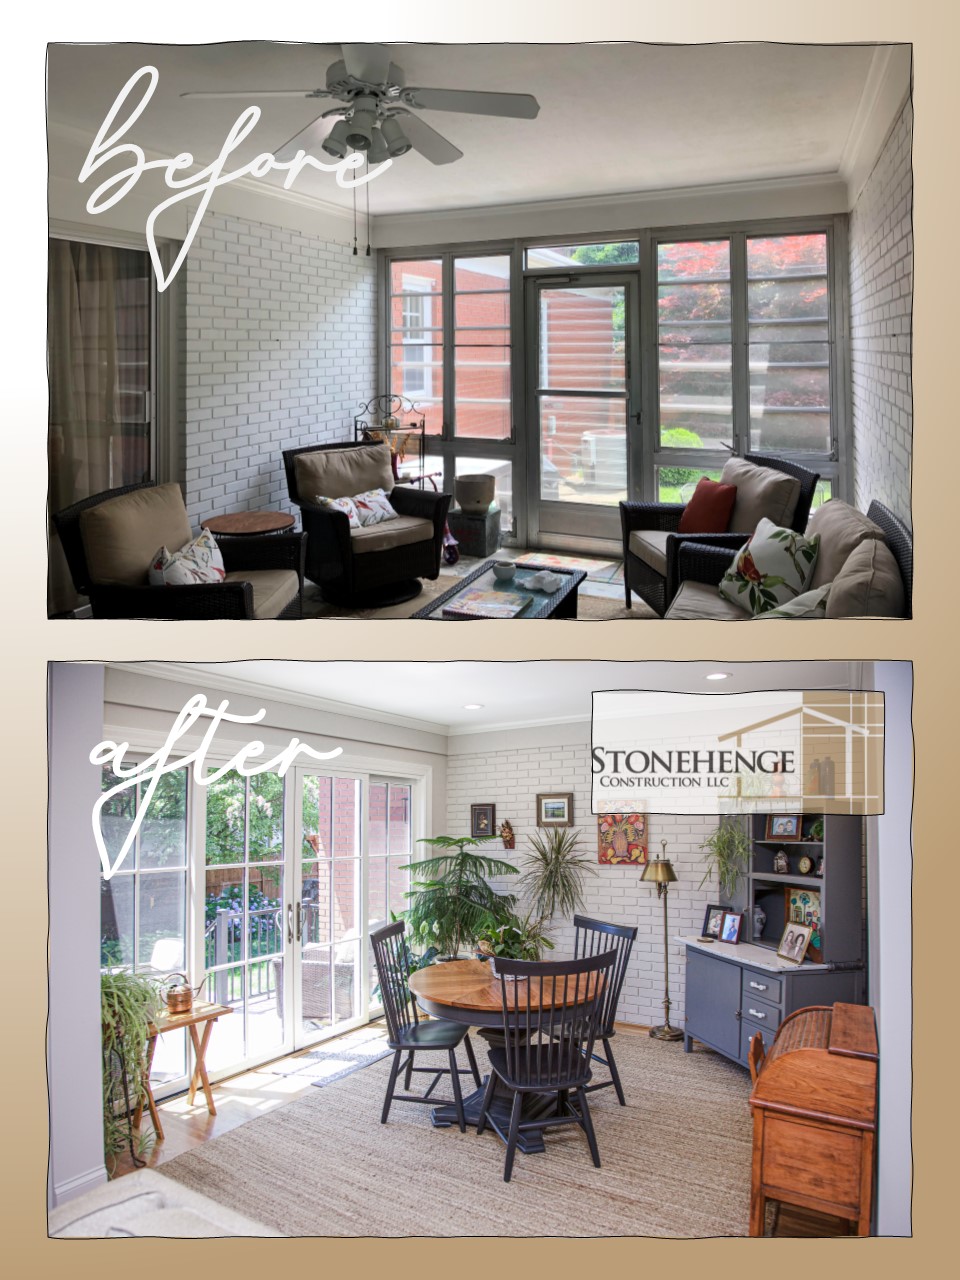
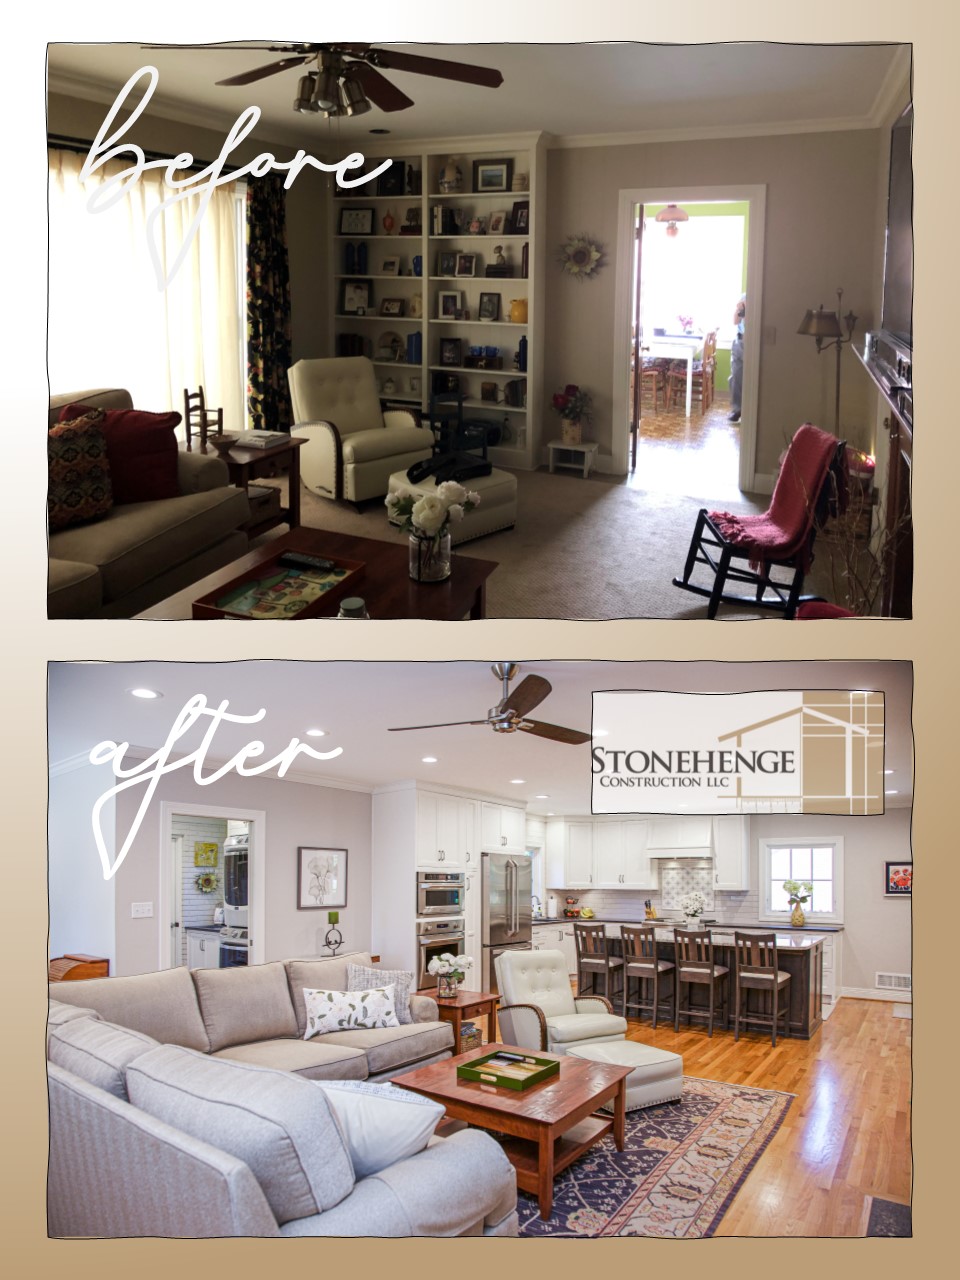
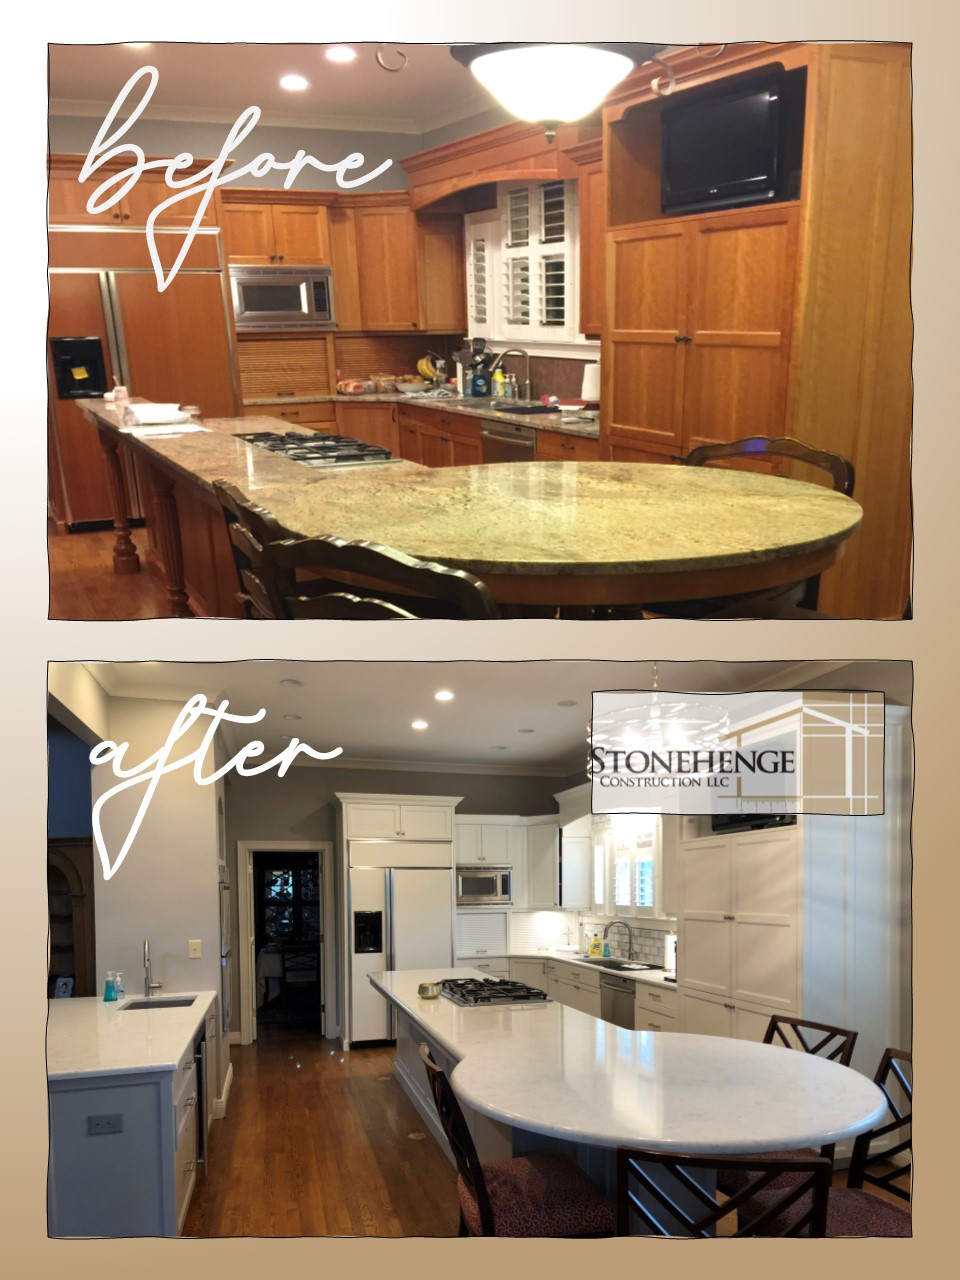
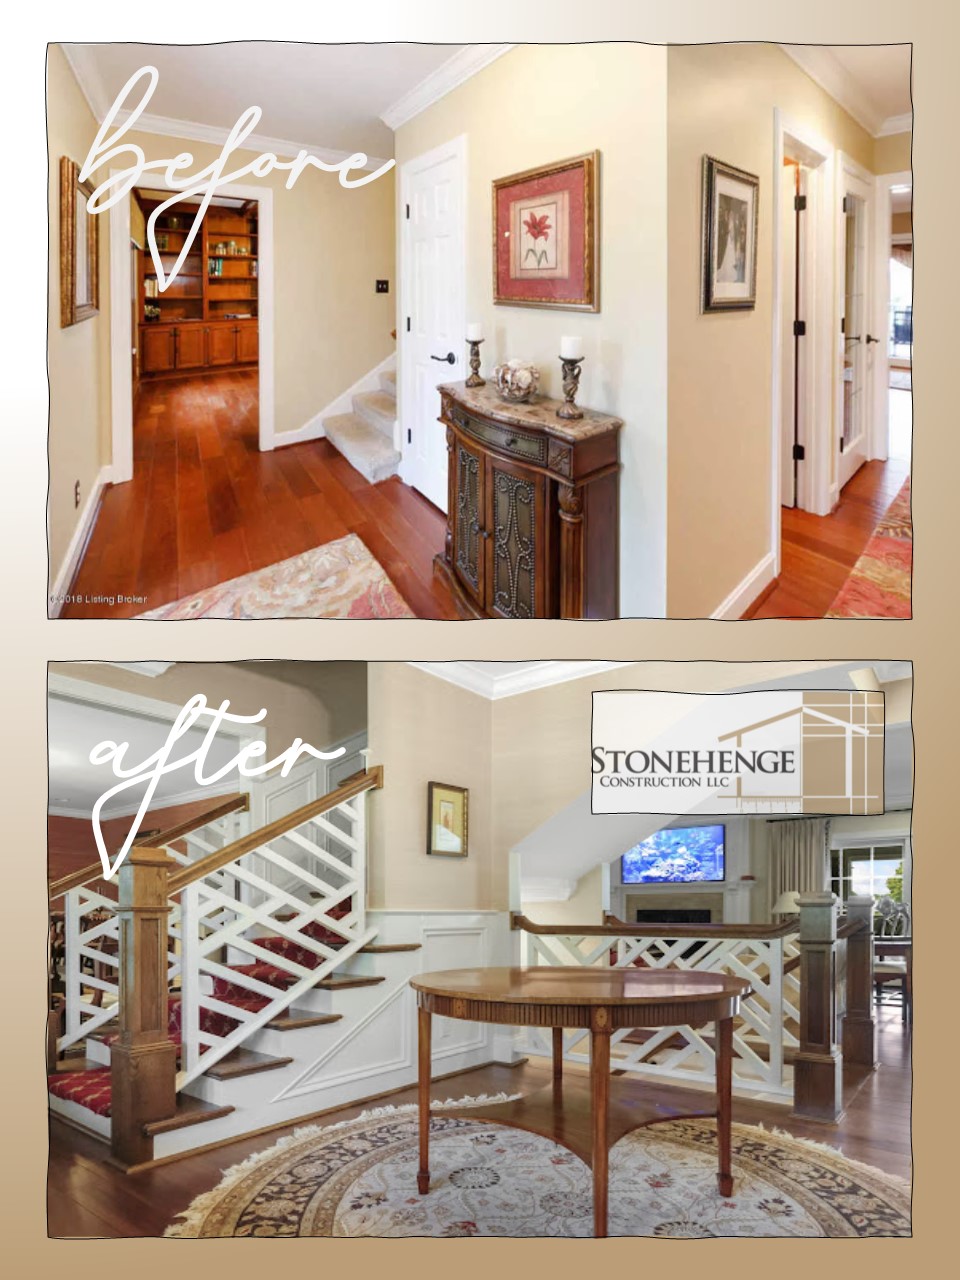
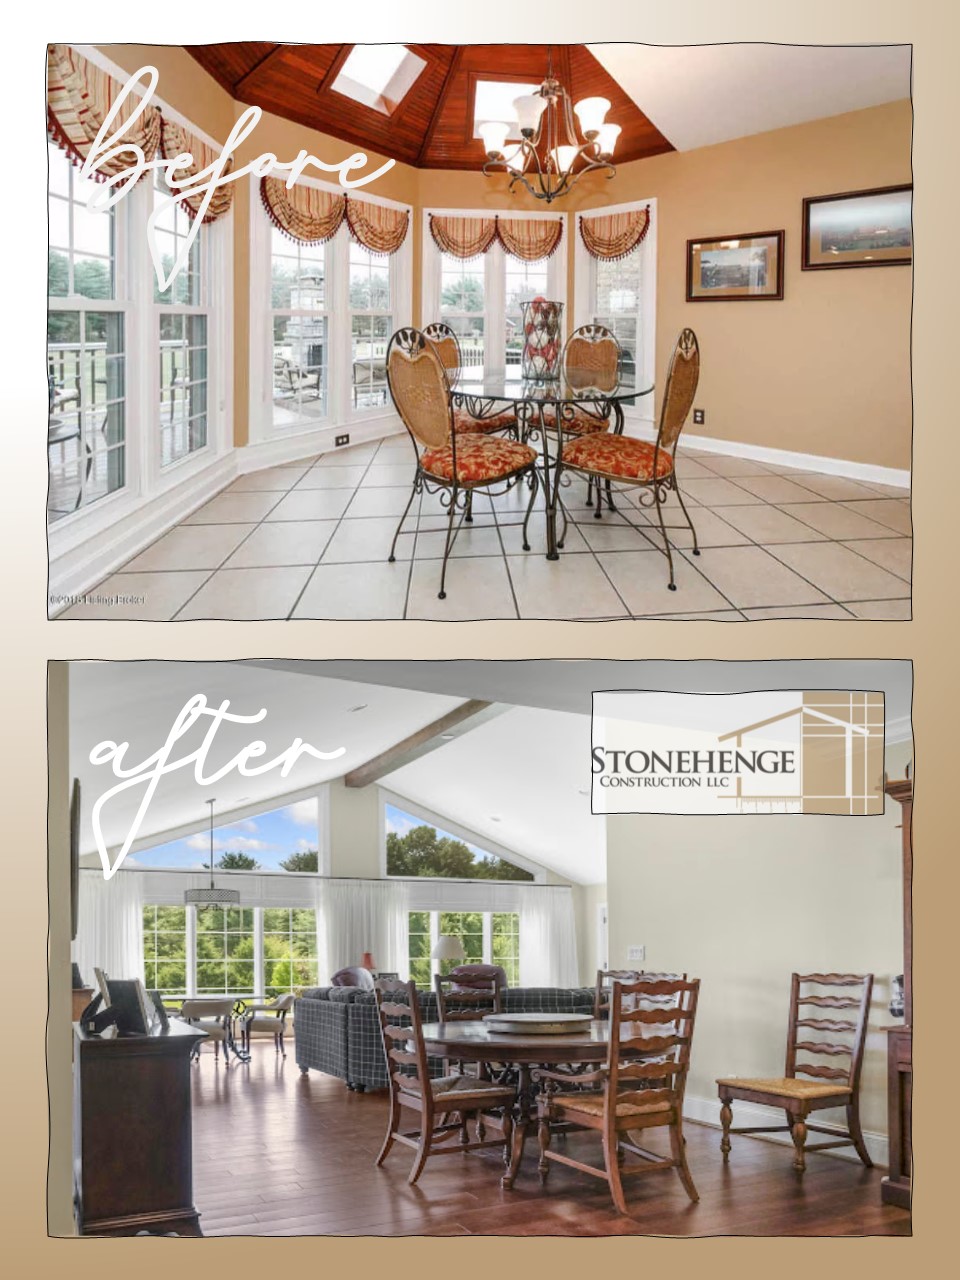
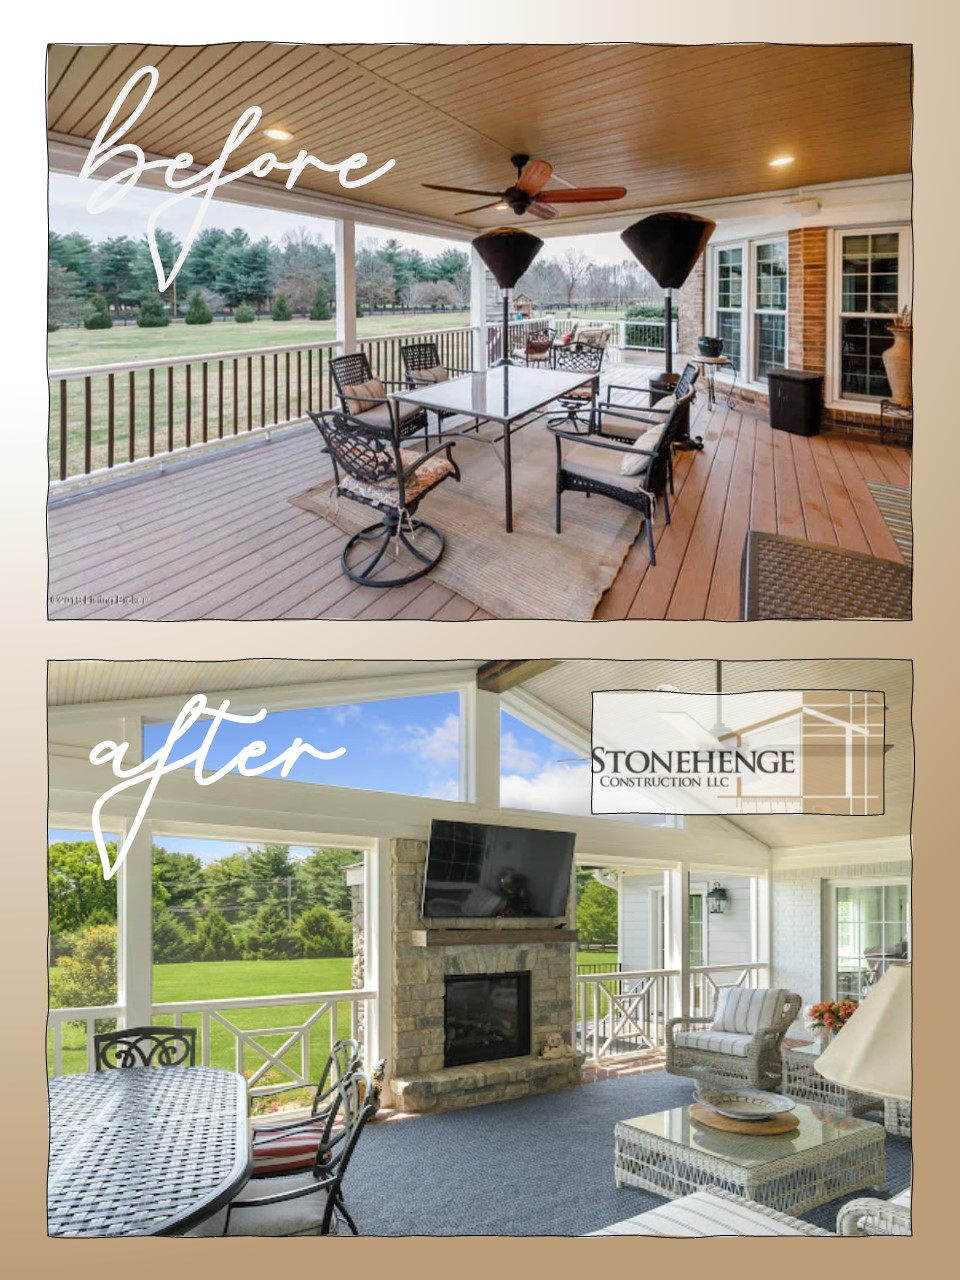
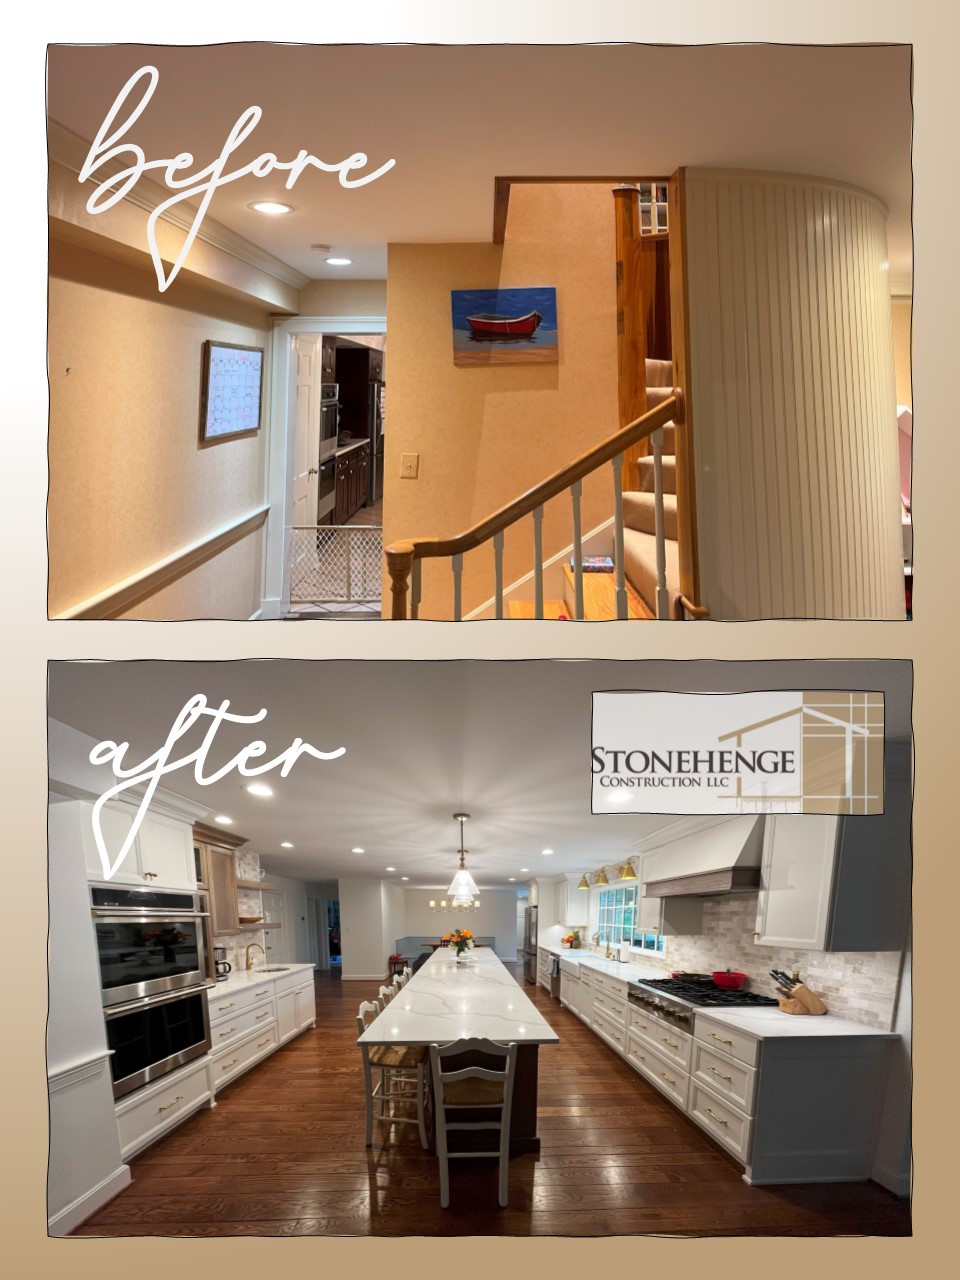
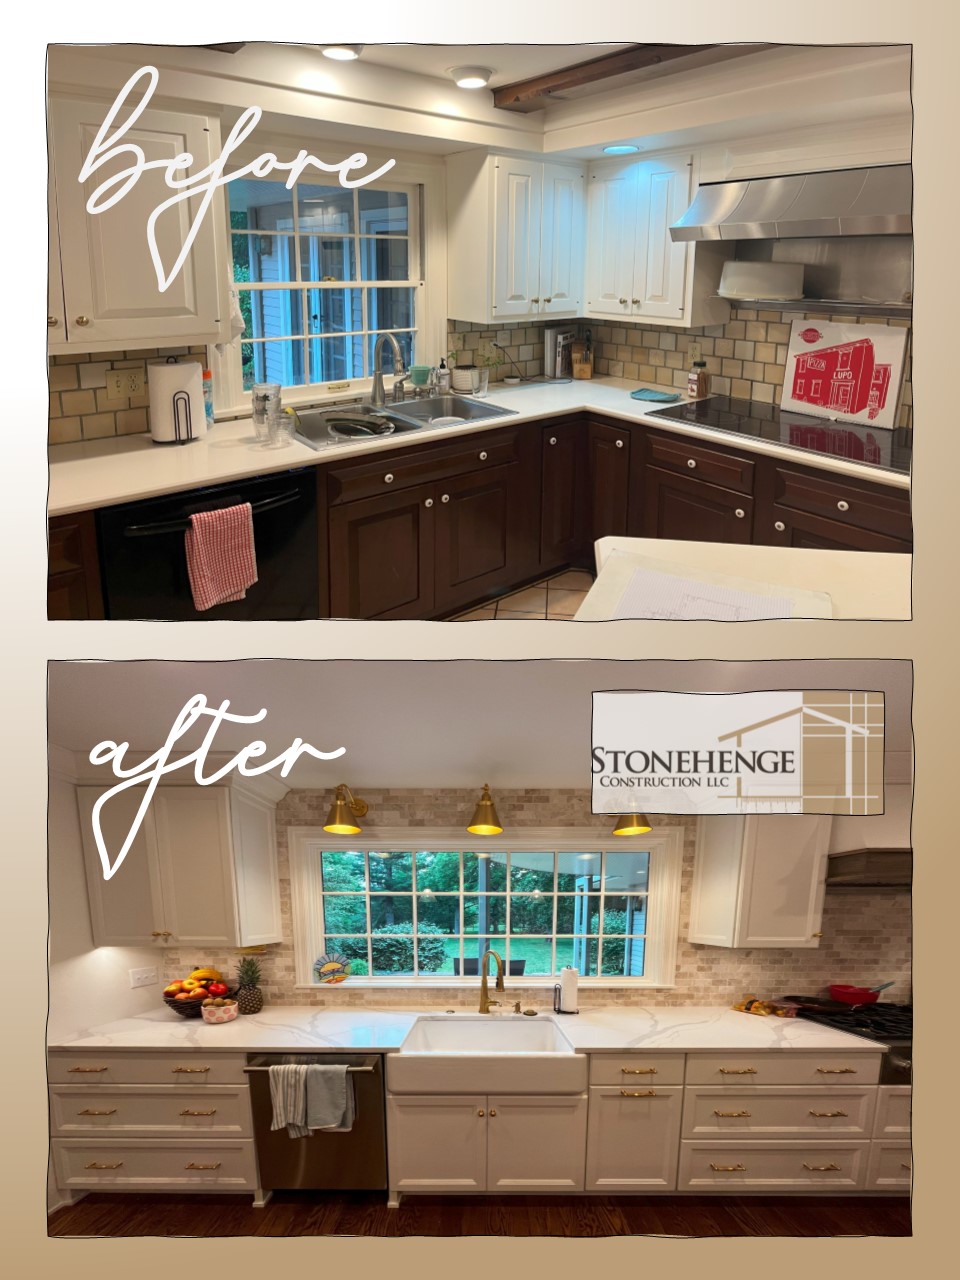
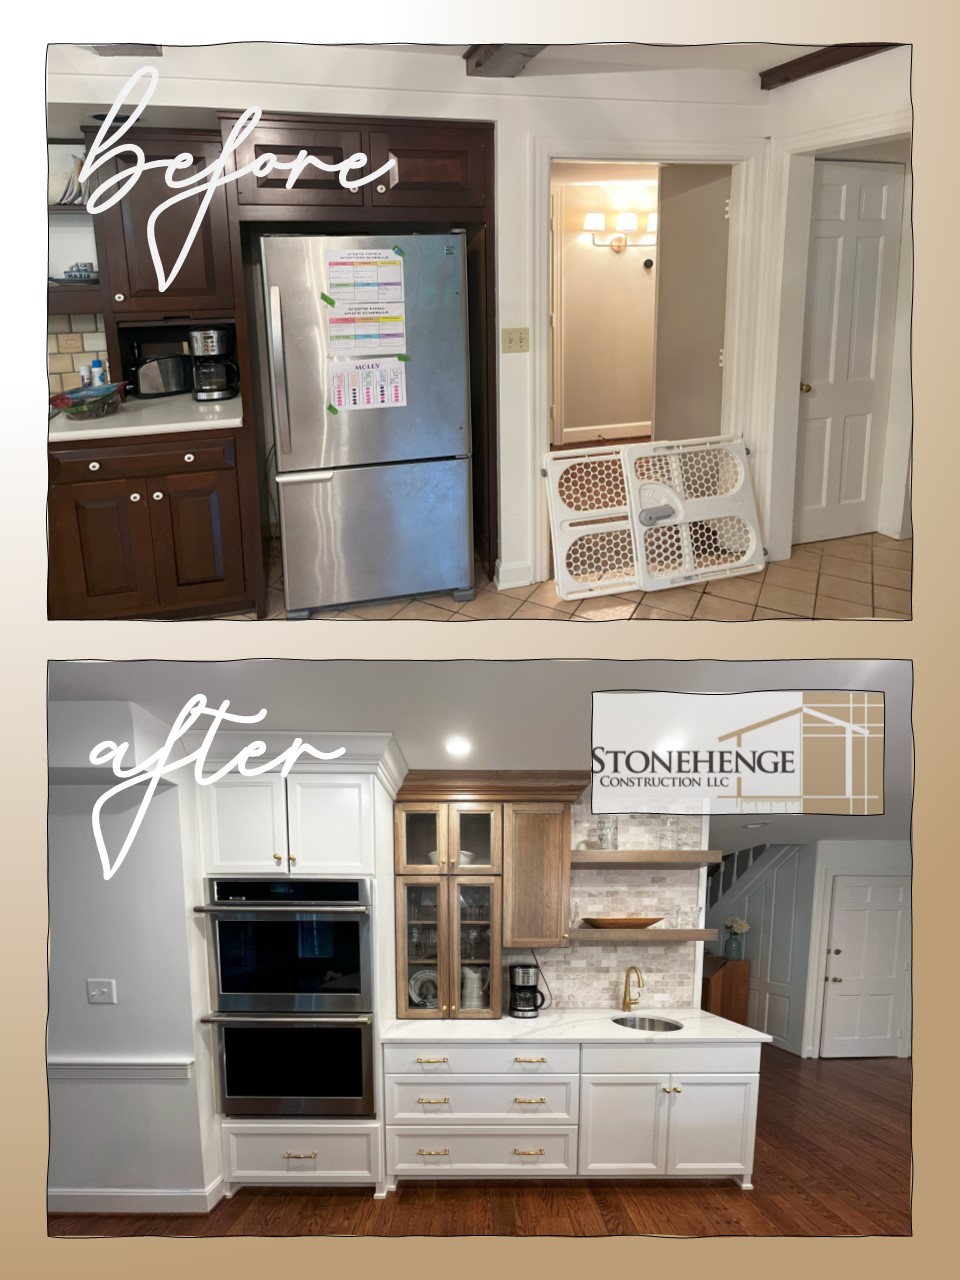
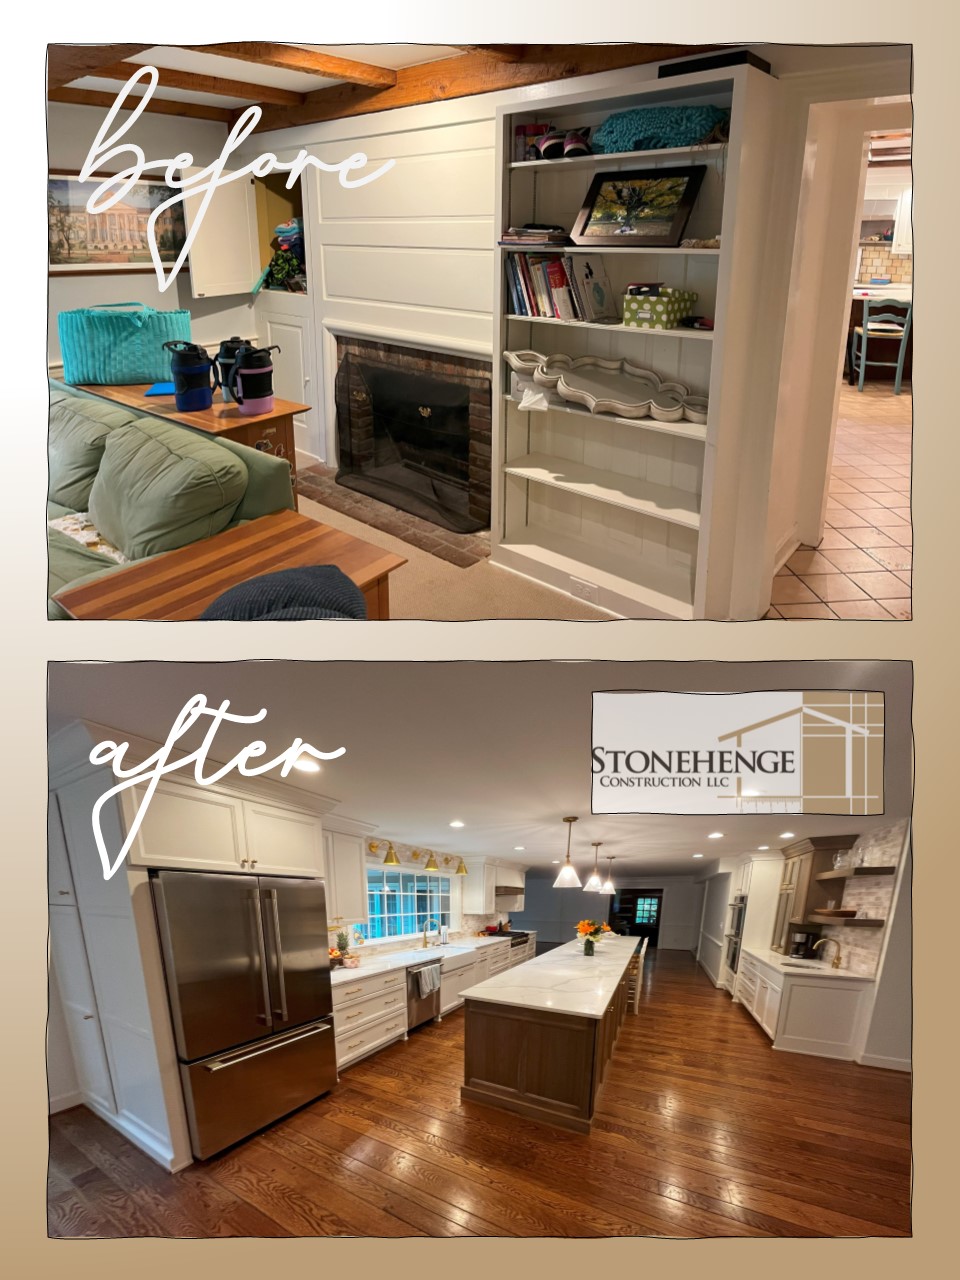
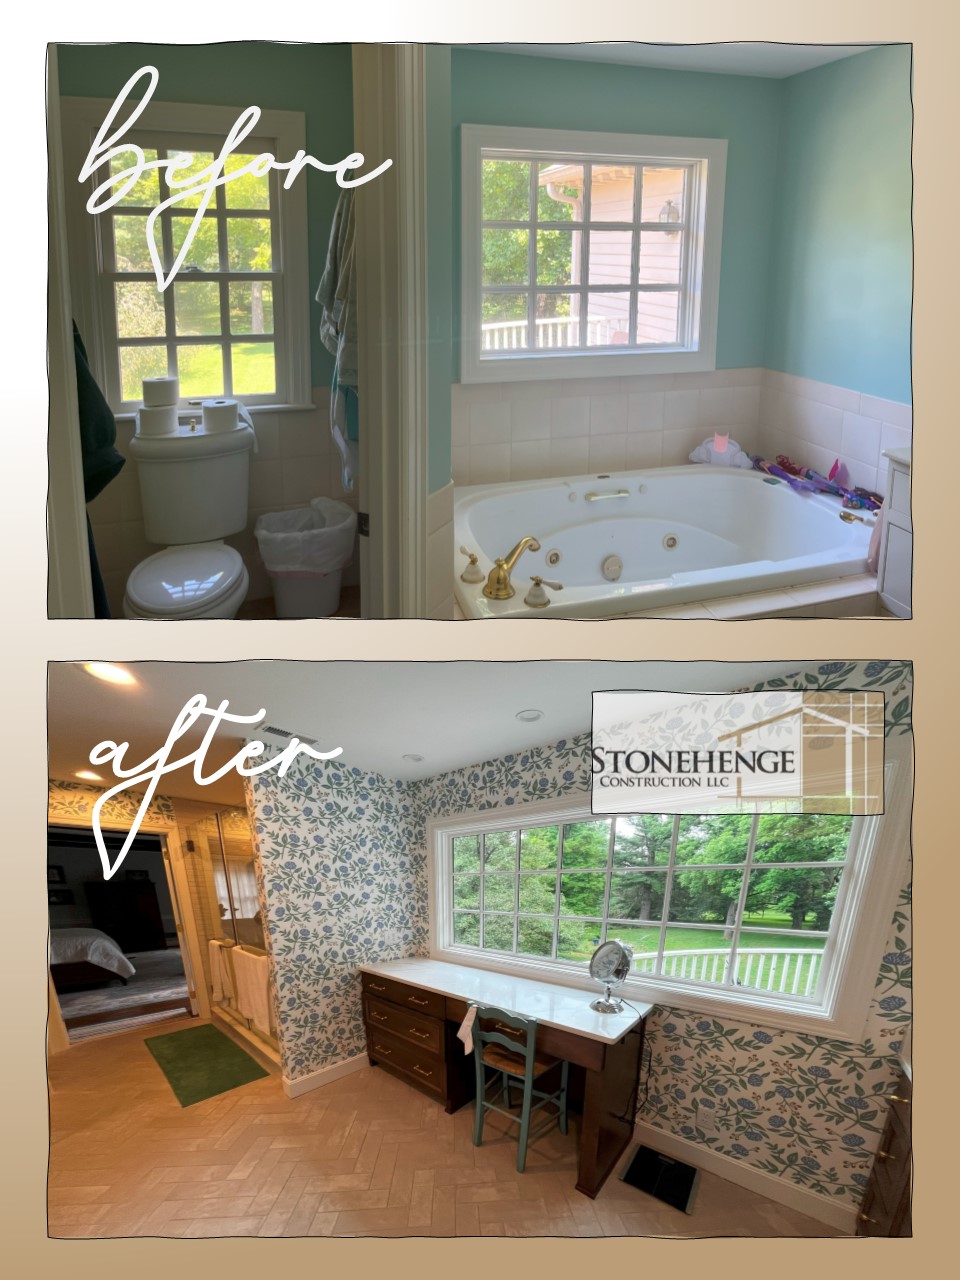
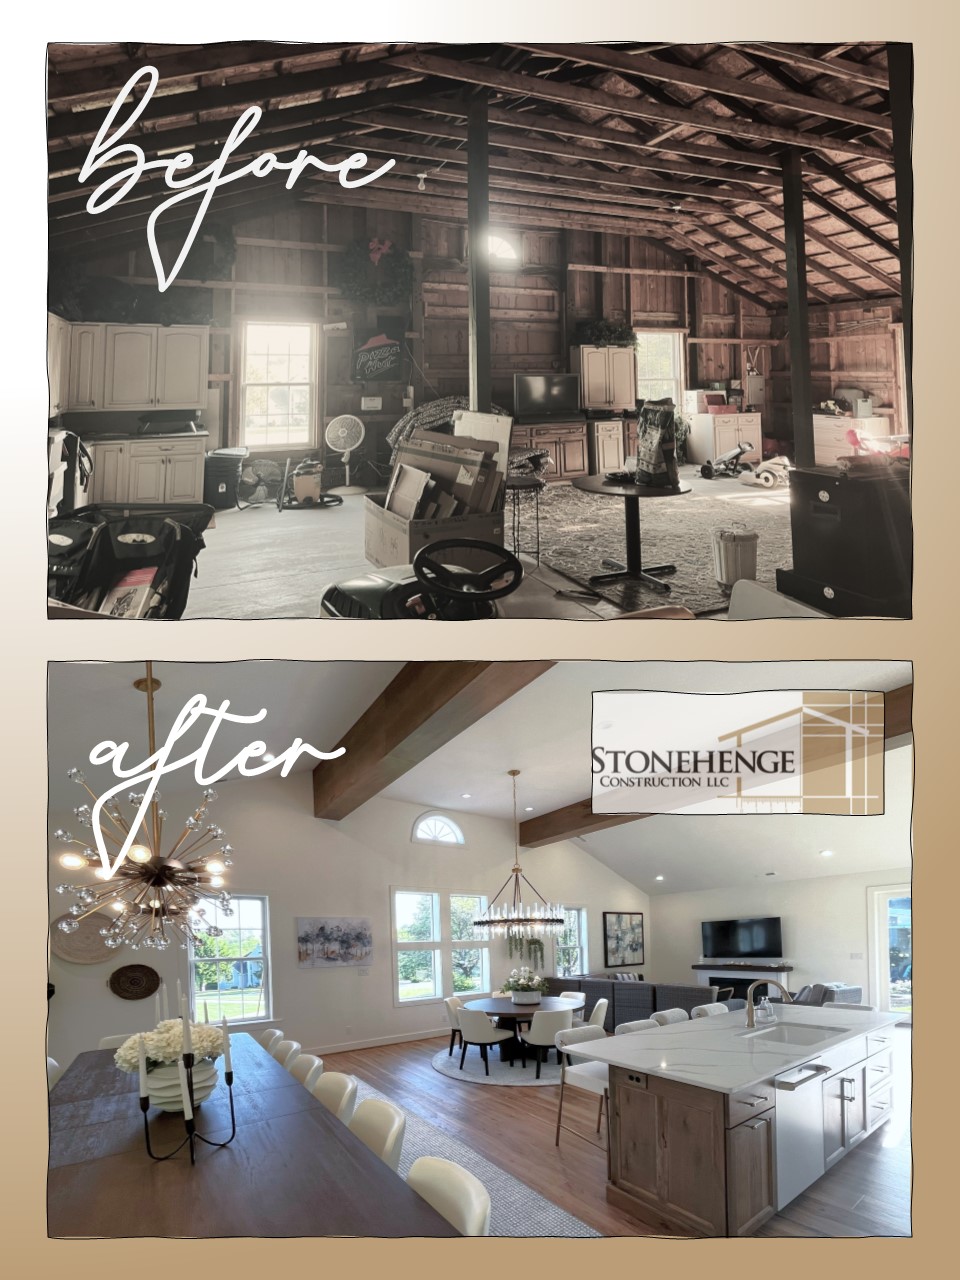
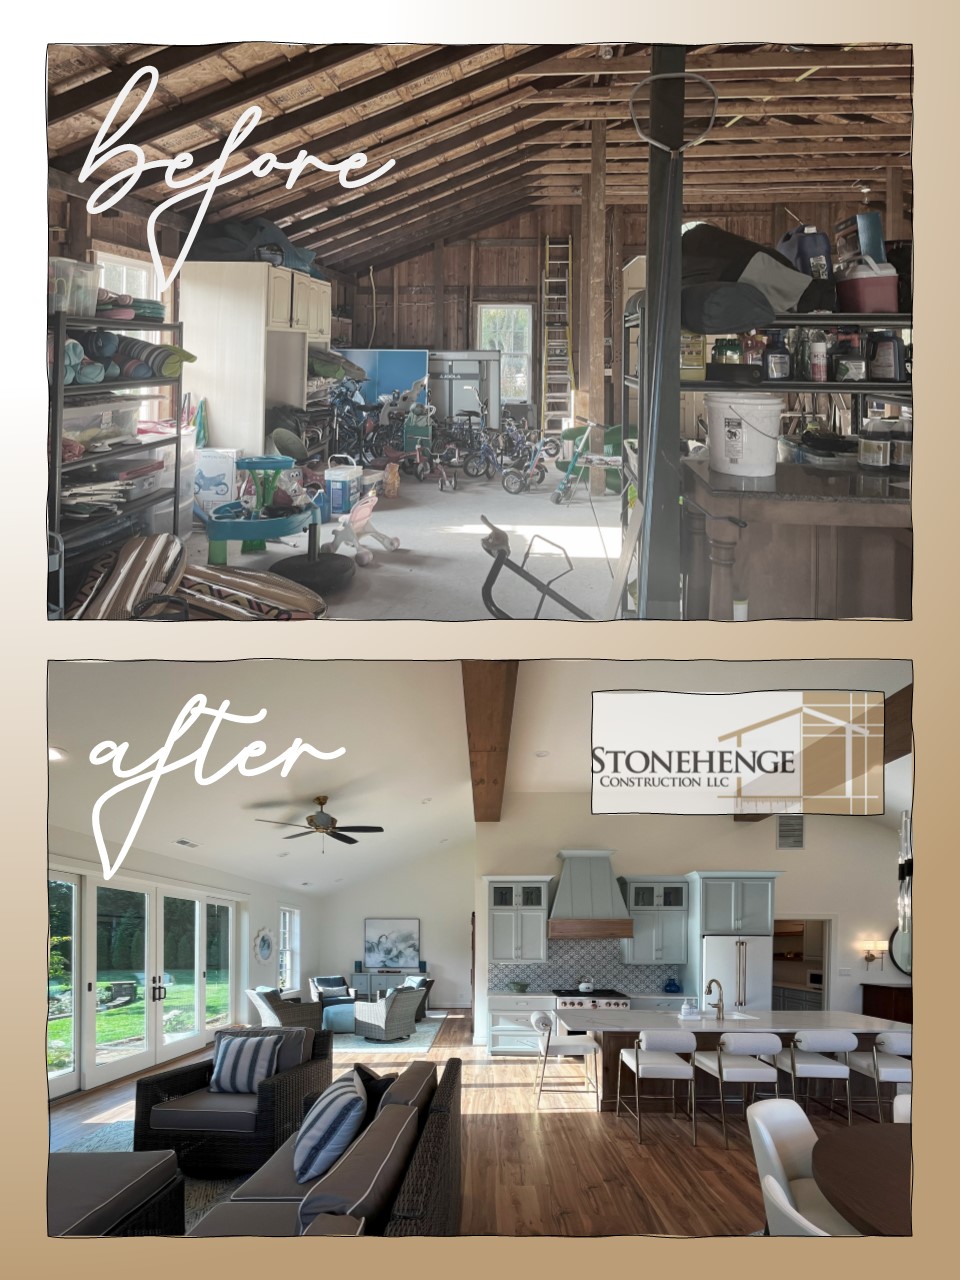
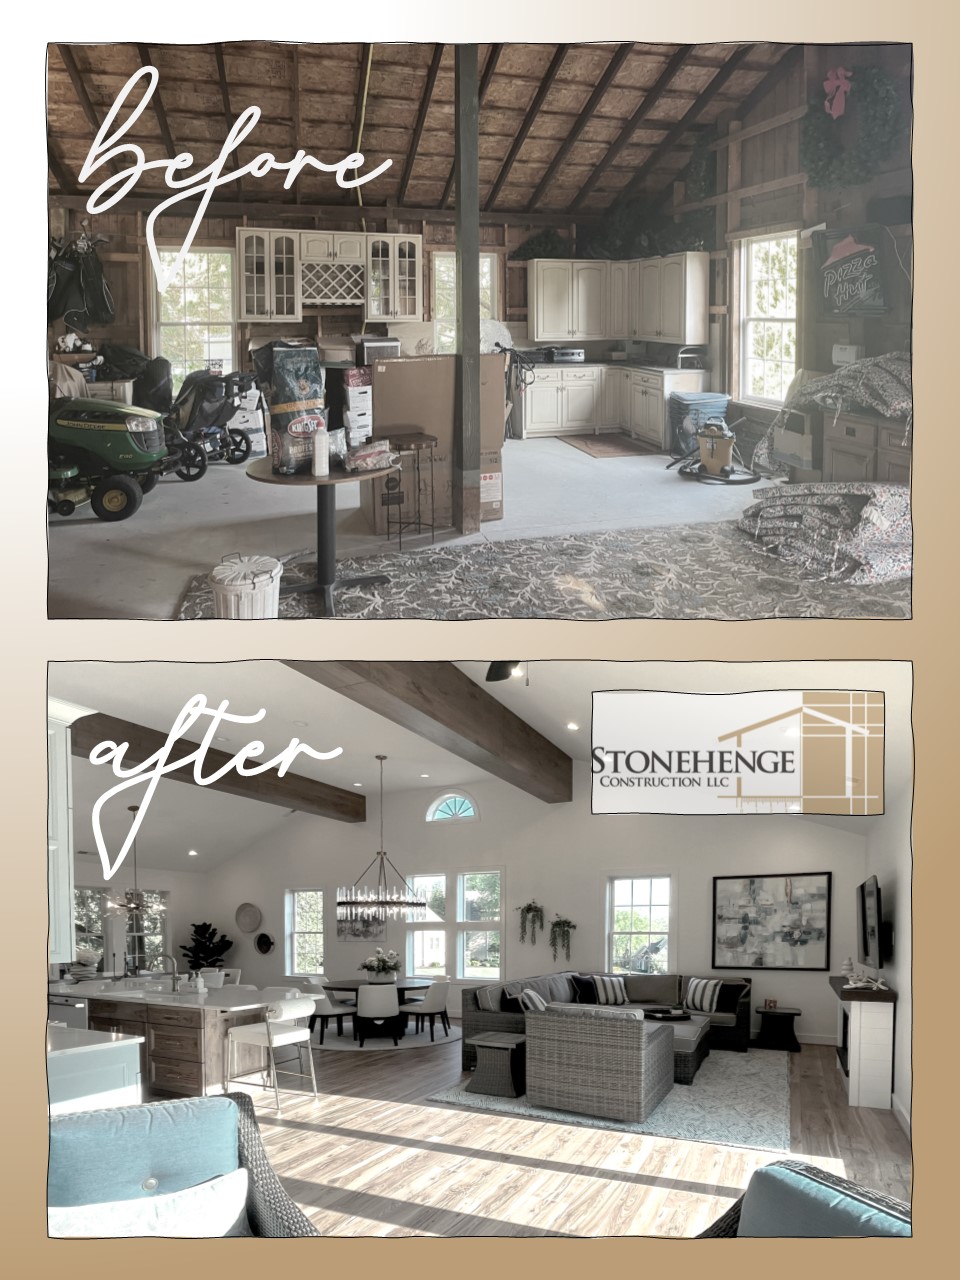
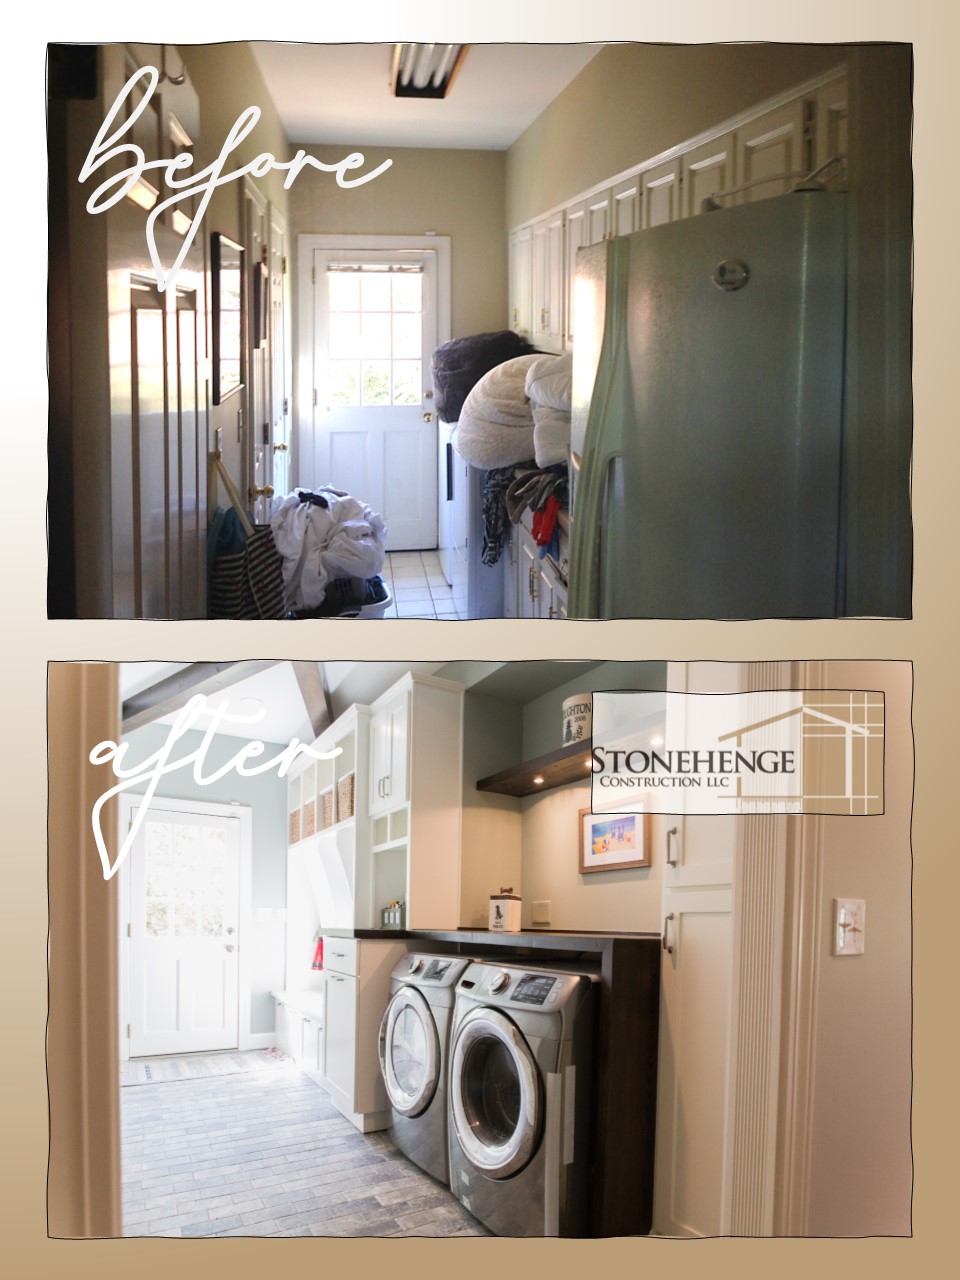
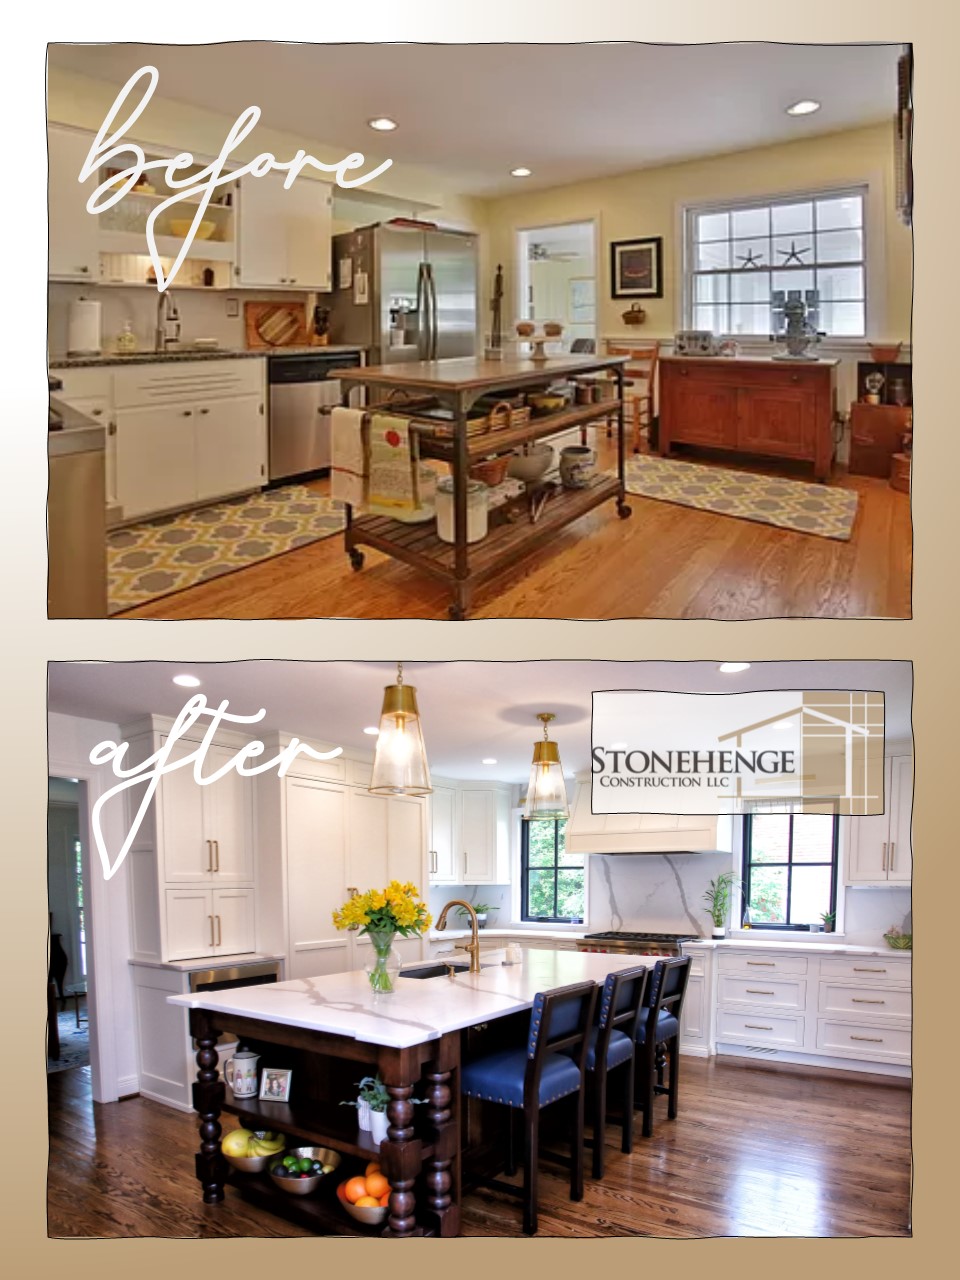
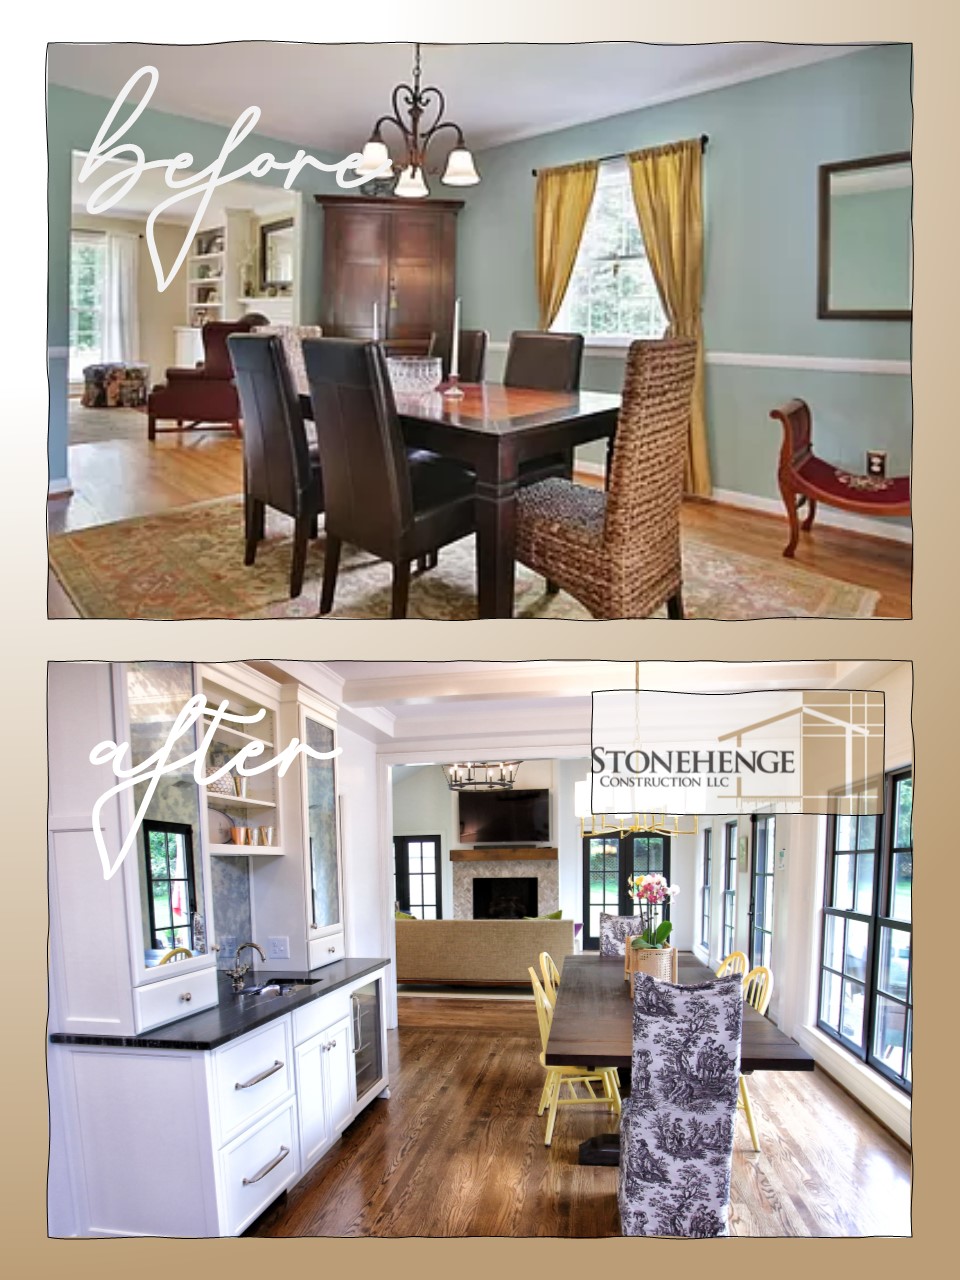
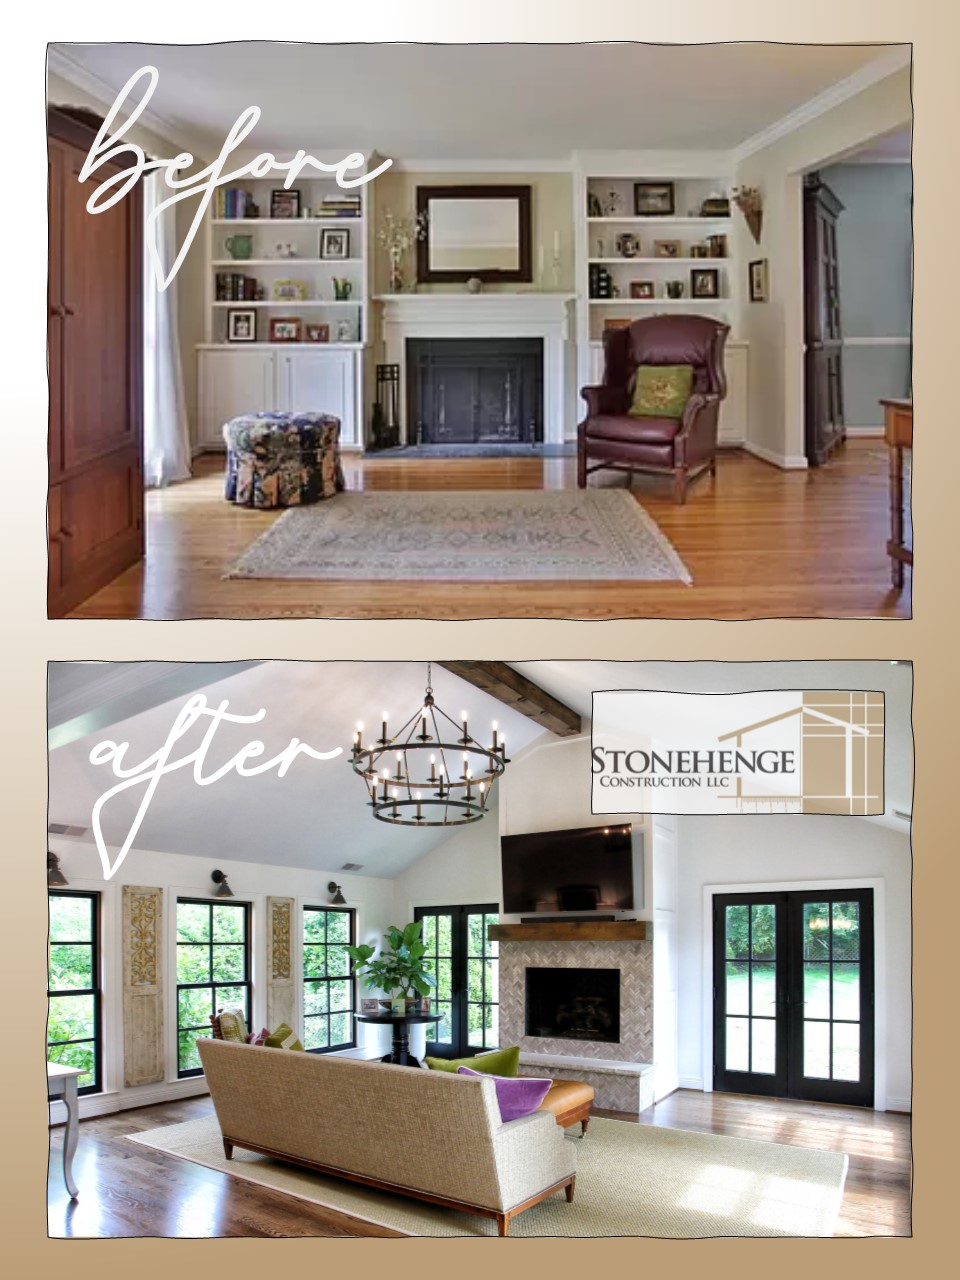
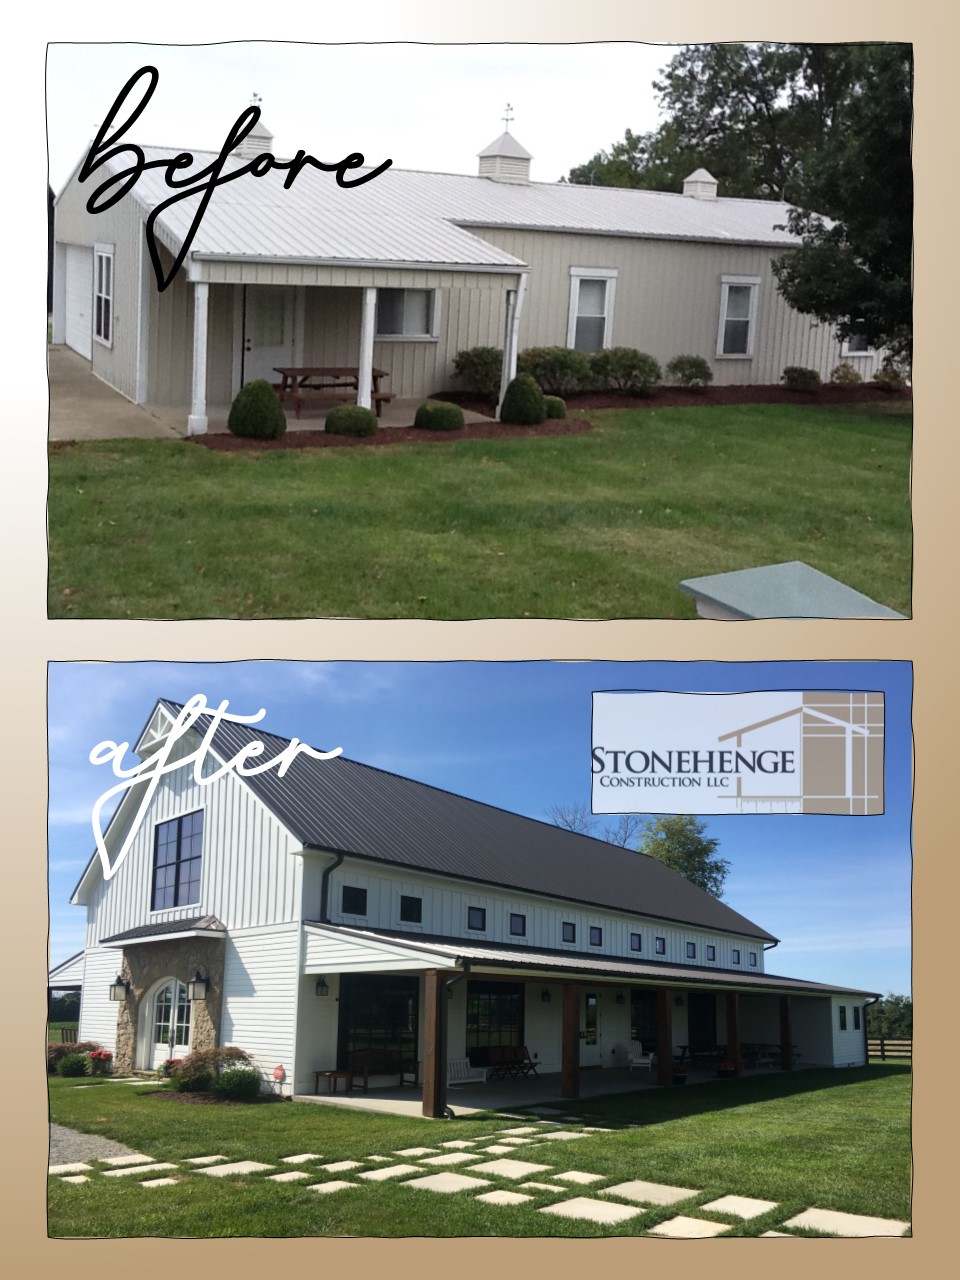
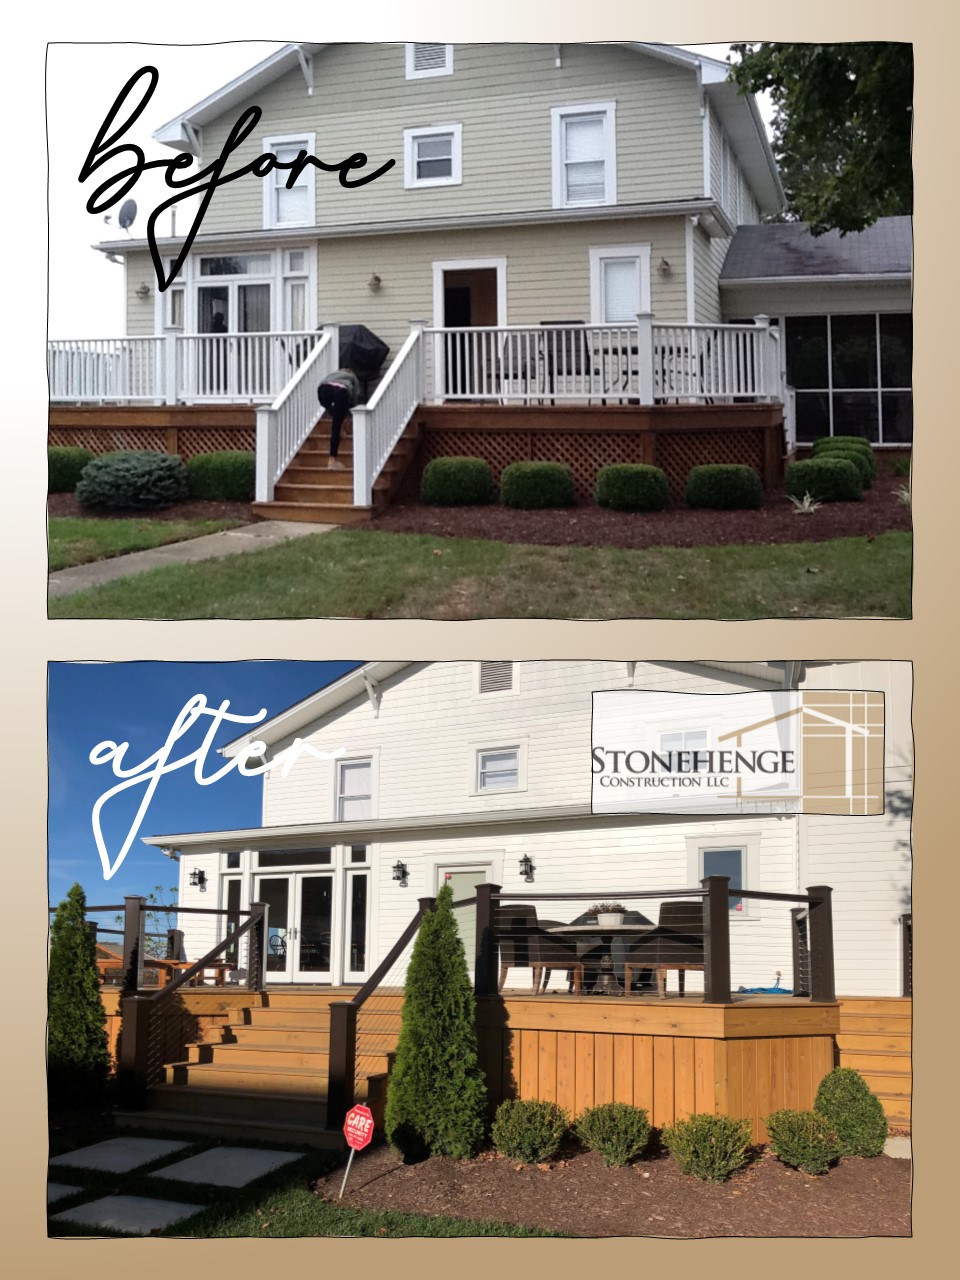
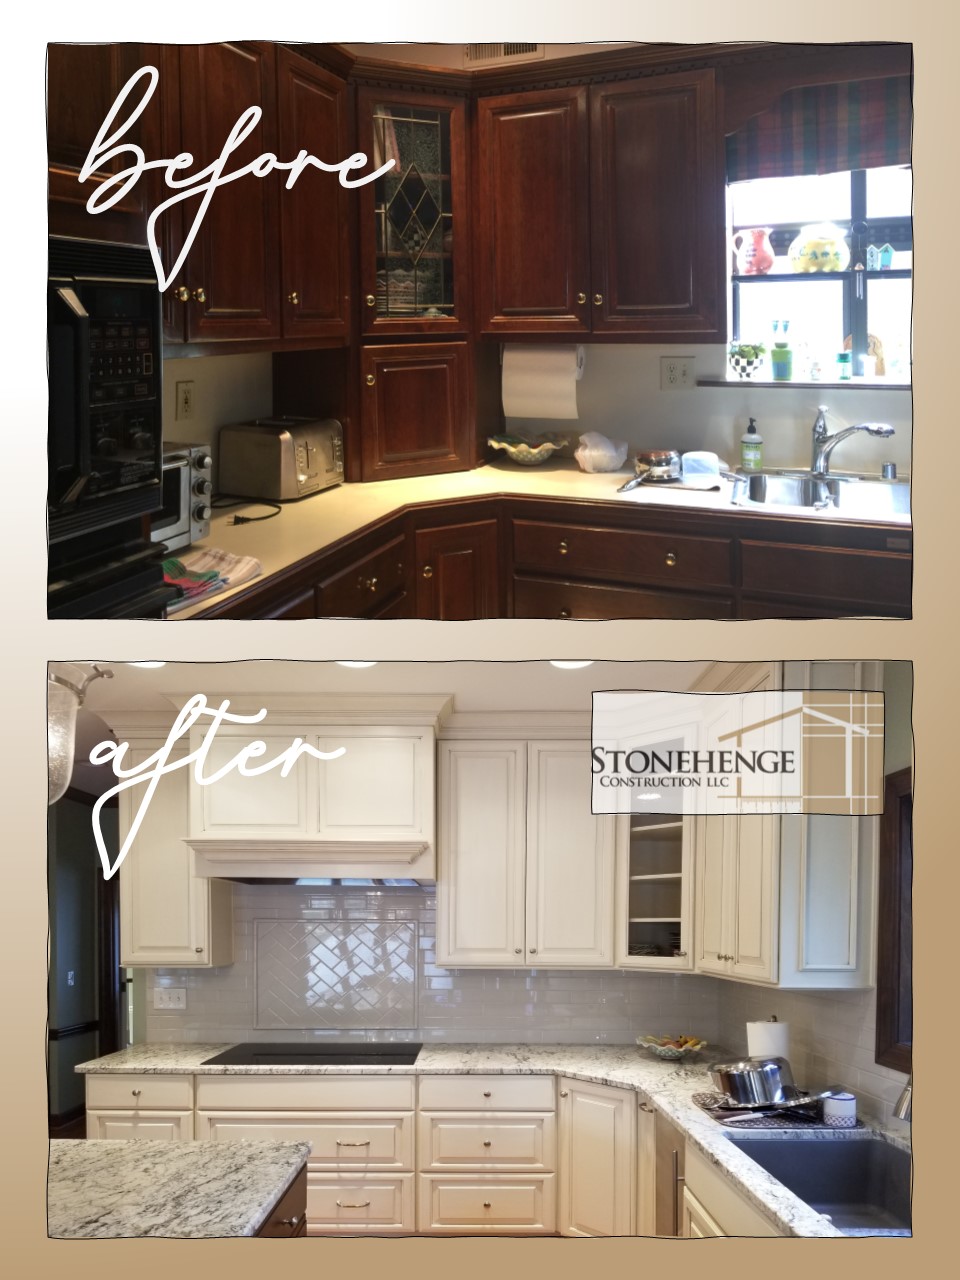
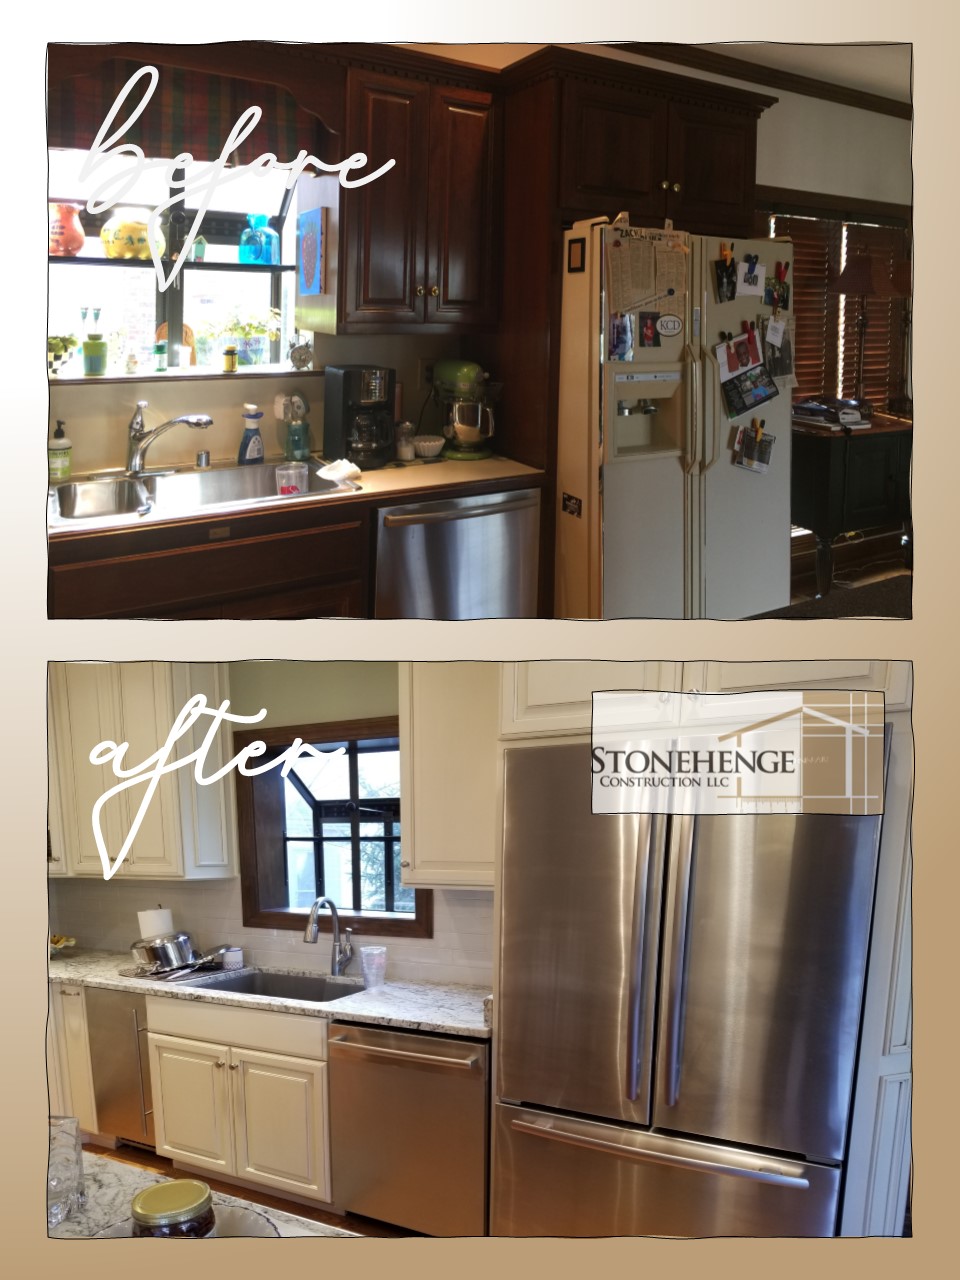
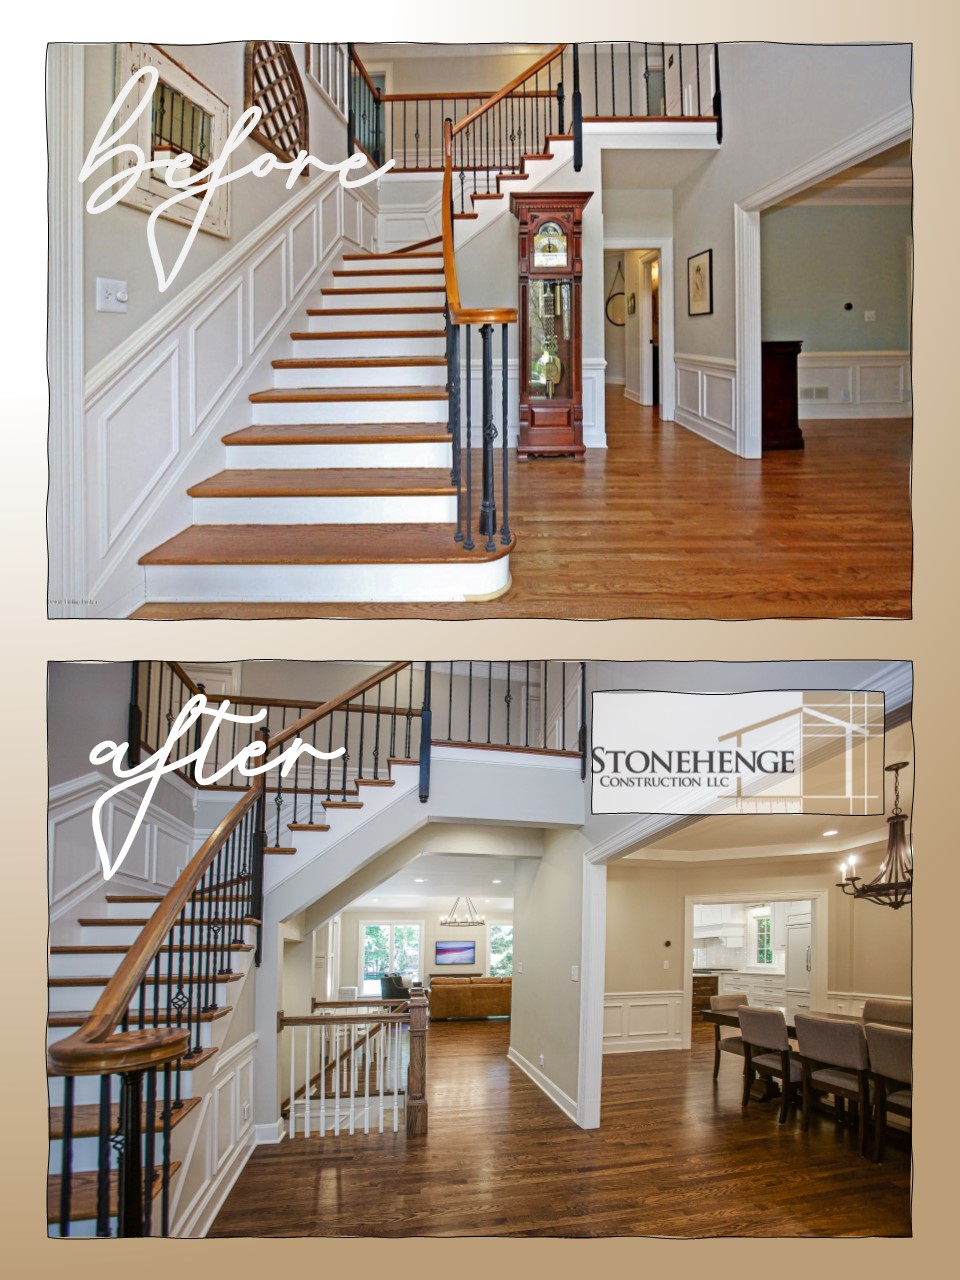
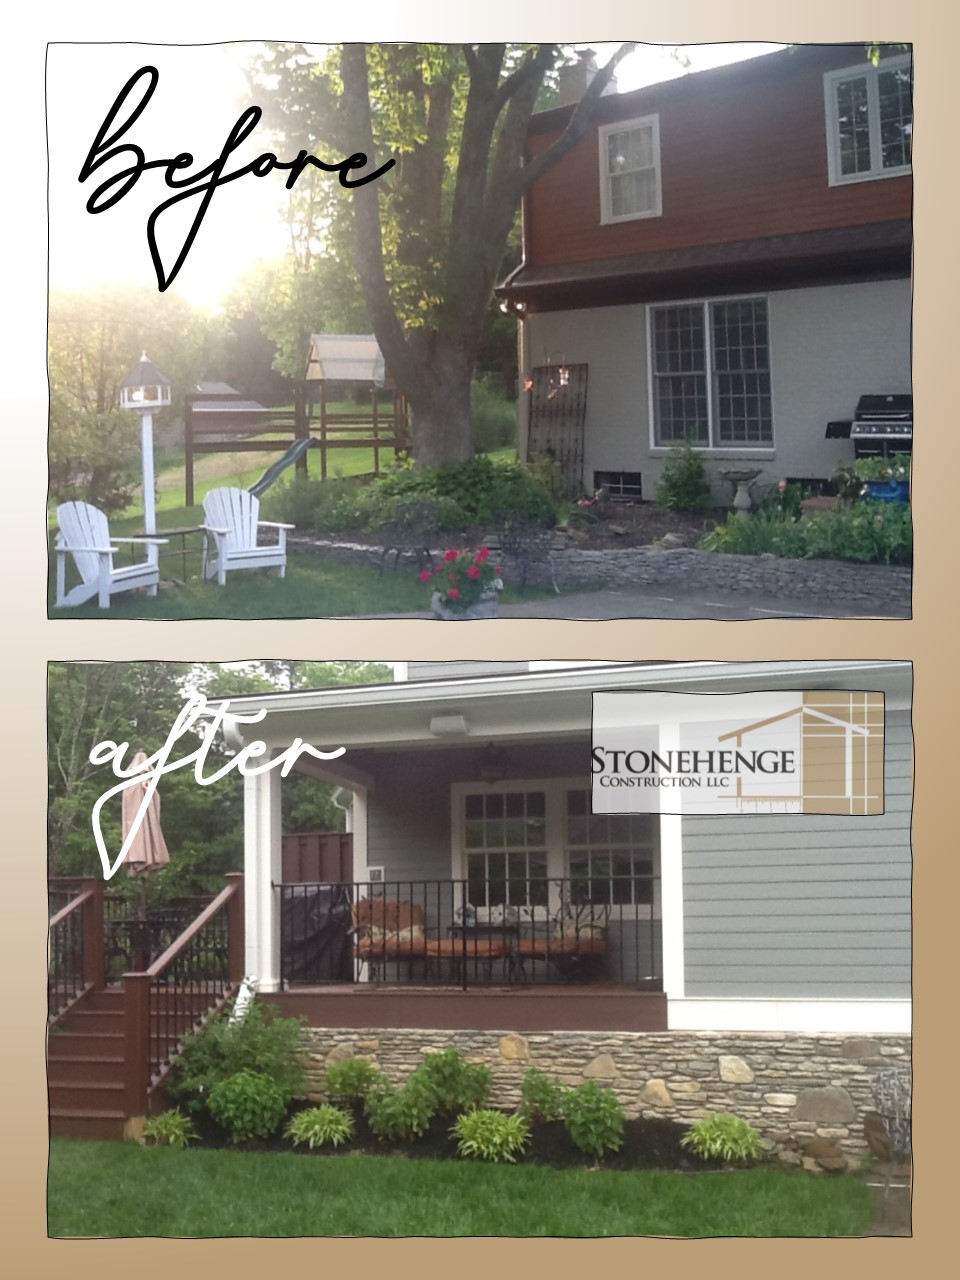
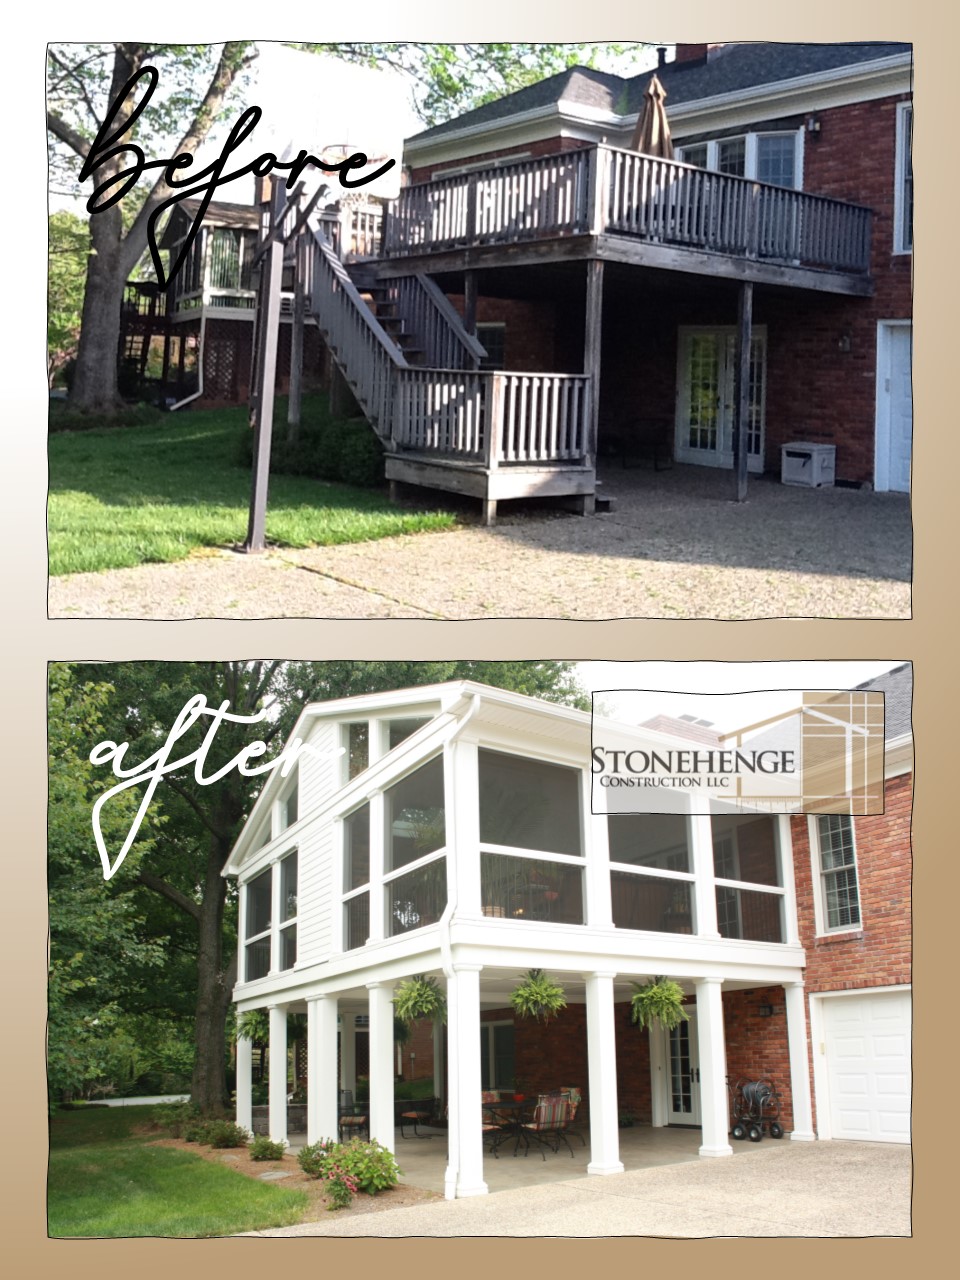
Befores & Afters
RETURN TO MAIN GALLERY

